Please enter your personal login information in order to view the albums you are authorized to access.
Log in as
Guest
User
Email address
Password
Password
Log in
Cancel
Successful
Error
Urlaub.2.ag
Login
Gallery
Gallery
Detail
Slideshow
Studio
Scrolling
Geomap
High Resolution
View
All Albums
Europa Rest
Südtirol 2011
Actions
Download album
Send link to album
The link is:
###ERROR###
Your name*
###ERROR###
Your email address*
###ERROR###
Your message to the recipient
Whom would you like to send the link to?*
(Separate multiple email addresses with comma.)
###ERROR###
Security check
Reload graphic.
###ERROR###
Enter security code here:*
Send
Cancel
Display photo
Download photo
Send link to photo
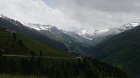
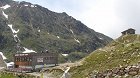
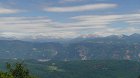
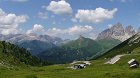
01 Timmelsjoch.JPG
Display photo
Download photo
Send link to photo
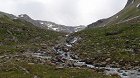
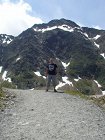
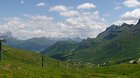
02 Timmelsjoch.JPG
Display photo
Download photo
Send link to photo
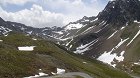
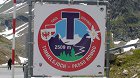
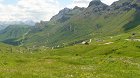
03 Timmelsjoch.JPG
Display photo
Download photo
Send link to photo
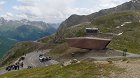
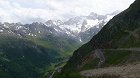
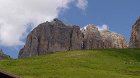
04 Timmelsjoch.JPG
Display photo
Download photo
Send link to photo
05 Timmelsjoch.JPG
Display photo
Download photo
Send link to photo
06 Timmelsjoch.JPG
Display photo
Download photo
Send link to photo
07 Timmelsjoch.JPG
Display photo
Download photo
Send link to photo
08 Timmelsjoch.JPG
Display photo
Download photo
Send link to photo
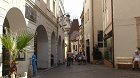
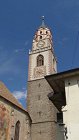
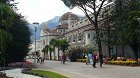
09 Meran.JPG
Display photo
Download photo
Send link to photo
10 Meran.JPG
Display photo
Download photo
Send link to photo
11 Meran.JPG
Display photo
Download photo
Send link to photo
12 Meran.JPG
Display photo
Download photo
Send link to photo
13 am Mendelpass.JPG
Display photo
Download photo
Send link to photo
14 am Mendelpass.JPG
Display photo
Download photo
Send link to photo
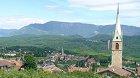
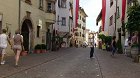
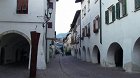
15 Kaltern Dorf.JPG
Display photo
Download photo
Send link to photo
16 Kaltern Dorf.JPG
Display photo
Download photo
Send link to photo
17 Kaltern Dorf.JPG
Display photo
Download photo
Send link to photo
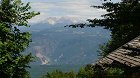
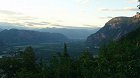
18 Blick über das Etschtal.JPG
Display photo
Download photo
Send link to photo
19 Blick über das Etschtal.JPG
Display photo
Download photo
Send link to photo
20 Blick über das Etschtal.JPG
Display photo
Download photo
Send link to photo
21 Auer.JPG
Display photo
Download photo
Send link to photo
22 Neumarkt.JPG
Display photo
Download photo
Send link to photo
23 Neumarkt.JPG
Display photo
Download photo
Send link to photo
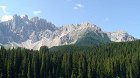
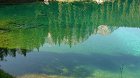
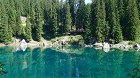
24 am Karersee.JPG
Display photo
Download photo
Send link to photo
25 am Karersee.JPG
Display photo
Download photo
Send link to photo
26 am Karersee.JPG
Display photo
Download photo
Send link to photo
27 am Karersee.JPG
Display photo
Download photo
Send link to photo
28 am Karersee.JPG
Display photo
Download photo
Send link to photo
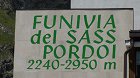
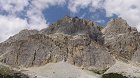
29 am Pordoi-Pass.JPG
Display photo
Download photo
Send link to photo
30 am Pordoi-Pass.JPG
Display photo
Download photo
Send link to photo
31 am Pordoi-Pass.JPG
Display photo
Download photo
Send link to photo
32 am Pordoi-Pass.JPG
Display photo
Download photo
Send link to photo
33 am Pordoi-Pass.JPG
Display photo
Download photo
Send link to photo
34 am Pordoi-Pass.JPG
Display photo
Download photo
Send link to photo
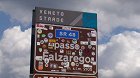
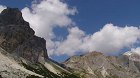
35 am Falzarego-Pass.JPG
Display photo
Download photo
Send link to photo
36 am Falzarego-Pass.JPG
Display photo
Download photo
Send link to photo
37 am Falzarego-Pass.JPG
Display photo
Download photo
Send link to photo
38 am Falzarego-Pass.JPG
Display photo
Download photo
Send link to photo
39 Alpe Cermis.JPG
Display photo
Download photo
Send link to photo
40 Alpe Cermis.JPG
Display photo
Download photo
Send link to photo
41 Alpe Cermis.JPG
Display photo
Download photo
Send link to photo
42 Alpe Cermis.JPG
Display photo
Download photo
Send link to photo
43 Alpe Cermis.JPG
Display photo
Download photo
Send link to photo
44 Alpe Cermis.JPG
Display photo
Download photo
Send link to photo
45 Alpe Cermis.JPG
Display photo
Download photo
Send link to photo
46 Alpe Cermis.JPG
Display photo
Download photo
Send link to photo
47 Alpe Cermis.JPG
Display photo
Download photo
Send link to photo
48 Alpe Cermis.JPG
Display photo
Download photo
Send link to photo
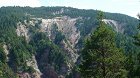
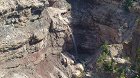
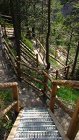
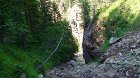
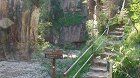
49 in der Bletterbachschlucht.JPG
Display photo
Download photo
Send link to photo
50 in der Bletterbachschlucht.JPG
Display photo
Download photo
Send link to photo
51 in der Bletterbachschlucht.JPG
Display photo
Download photo
Send link to photo
52 in der Bletterbachschlucht.JPG
Display photo
Download photo
Send link to photo
53 in der Bletterbachschlucht.JPG
Display photo
Download photo
Send link to photo
54 in der Bletterbachschlucht.JPG
Display photo
Download photo
Send link to photo
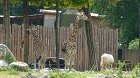
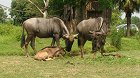
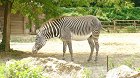
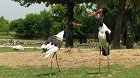
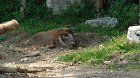
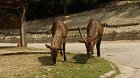
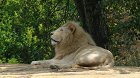
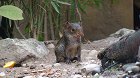
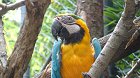
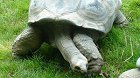
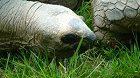
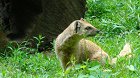
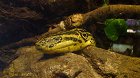
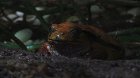
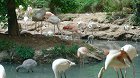
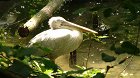
55 Parco Natura Viva.JPG
Display photo
Download photo
Send link to photo
56 Parco Natura Viva.JPG
Display photo
Download photo
Send link to photo
57 Parco Natura Viva.JPG
Display photo
Download photo
Send link to photo
58 Parco Natura Viva.JPG
Display photo
Download photo
Send link to photo
59 Parco Natura Viva.JPG
Display photo
Download photo
Send link to photo
60 Parco Natura Viva.JPG
Display photo
Download photo
Send link to photo
61 Parco Natura Viva.JPG
Display photo
Download photo
Send link to photo
62 Parco Natura Viva.JPG
Display photo
Download photo
Send link to photo
63 Parco Natura Viva.JPG
Display photo
Download photo
Send link to photo
64 Parco Natura Viva.JPG
Display photo
Download photo
Send link to photo
65 Parco Natura Viva.JPG
Display photo
Download photo
Send link to photo
66 Parco Natura Viva.JPG
Display photo
Download photo
Send link to photo
67 Parco Natura Viva.JPG
Display photo
Download photo
Send link to photo
68 Parco Natura Viva.JPG
Display photo
Download photo
Send link to photo
69 Parco Natura Viva.JPG
Display photo
Download photo
Send link to photo
70 Parco Natura Viva.JPG
Display photo
Download photo
Send link to photo
71 Parco Natura Viva.JPG
Display photo
Download photo
Send link to photo
72 Parco Natura Viva.JPG
Display photo
Download photo
Send link to photo
73 Parco Natura Viva.JPG
Display photo
Download photo
Send link to photo
74 Parco Natura Viva.JPG
Display photo
Download photo
Send link to photo
75 Parco Natura Viva.JPG
Display photo
Download photo
Send link to photo
76 Parco Natura Viva.JPG
Display photo
Download photo
Send link to photo
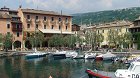
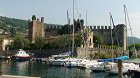
77 Torri del Benaco.JPG
Display photo
Download photo
Send link to photo
78 Torri del Benaco.JPG
Display photo
Download photo
Send link to photo
79 Torri del Benaco.JPG
Display photo
Download photo
Send link to photo
80 Auer.JPG